


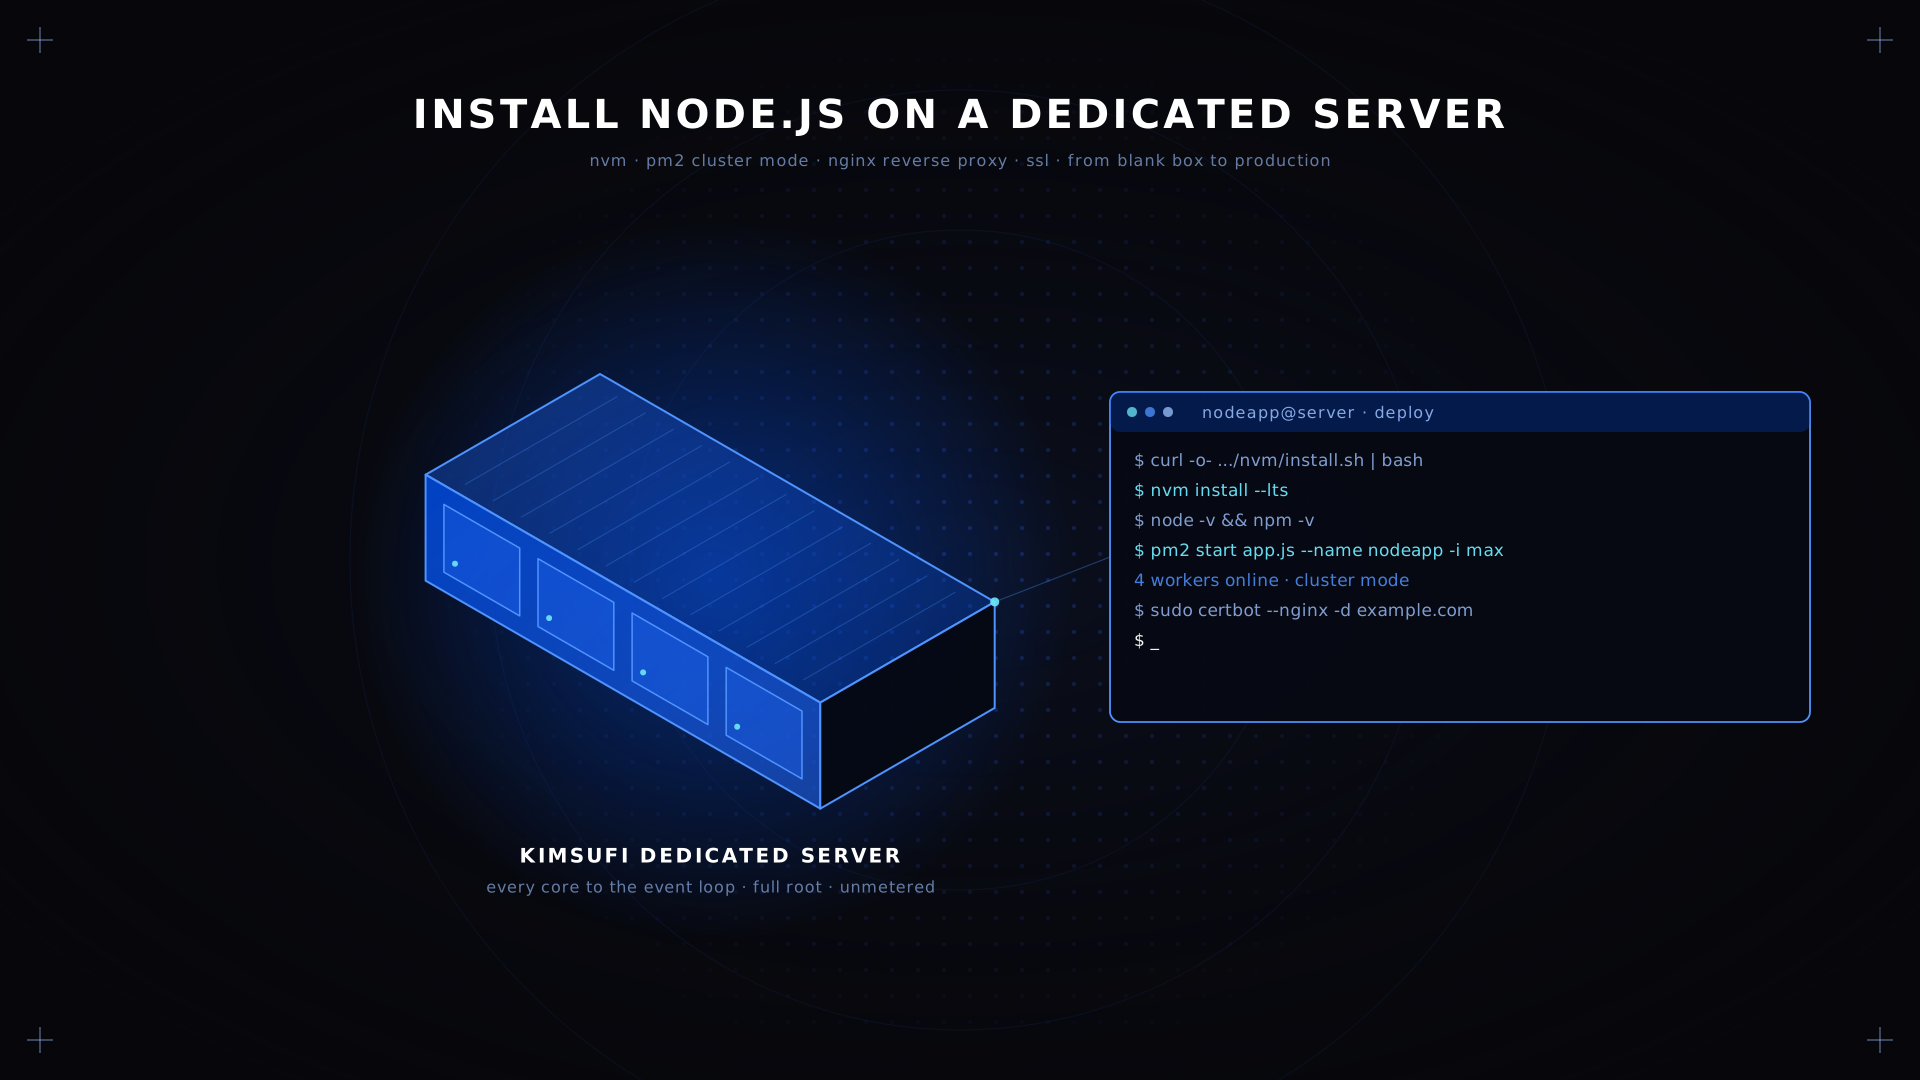
Node.js is a JavaScript runtime that executes your application code outside the browser, and npm is the package tool that comes with it. Putting it on bare metal gives the event loop a whole processor and the whole disk, with no hypervisor between your process and the hardware. This guide covers the full path from a blank server to a production-ready deployment: NVM, npm, PM2 in cluster mode, Nginx as a reverse proxy, SSL and firewall. Hardware starts at $11.10/month.
Key Takeaways
- Install Node.js through NVM, never through the distribution package. NVM lets you switch versions per project and avoids sudo for every global package.
- PM2 keeps the app alive, restarts it on crash, and runs it in cluster mode across every core. That is the single biggest win on bare metal.
- Nginx sits in front on port 443 and proxies to your app on port 3000. The app itself never faces the internet.
- Let's Encrypt handles SSL. UFW closes everything else.
- The last step is the one people forget: startup on reboot, or a power cycle takes the site down.
Prerequisites and System Requirements
- A server running Ubuntu 24.04 or 26.04 LTS, Debian 12, or an RPM distribution such as Rocky or Alma.
- Root access or an account with sudo rights, plus the IP address emailed after provisioning.
- A domain name with an A record pointing at that IP, if you want SSL.
- An SSH client. Terminal on macOS and Linux, PowerShell or PuTTY in a Windows window.
Node itself is light. What you run on it decides the specification:
| Workload | Suggested range |
|---|---|
| A single app, low traffic, development work | Kimsufi KS-2 |
| Budget build, high clock speed, 6 cores | Kimsufi KS-C |
| Production app with a database | Kimsufi KS-5 |
| Realtime and websocket workloads | Kimsufi KS-GAME |
Connect to Your Dedicated Server via SSH
Open a terminal window and connect with the credentials from your provider:
ssh root@YOUR_SERVER_IPThen create a standard user, because running an app as root is the first thing an audit will flag:
adduser nodeapp && usermod -aG sudo nodeapp
su - nodeapp
Update the base packages before anything else:
apt update && sudo apt upgrade -yOn an RPM distribution the equivalent pair is sudo dnf check-update and sudo dnf upgrade. Every instruction after this step runs as the nodeapp user unless it says otherwise.
Install NVM (Node Version Manager)
NVM is a bash script that installs Node.js into your home directory. No sudo, no conflict with the OS package manager, and you can switch between versions per project, which is what makes it the right tool for a development environment as well as a server.
curl -o- https://raw.githubusercontent.com/nvm-sh/nvm/v0.40.1/install.sh | bash
source ~/.bashrc
command -v nvm
The installer appends its own lines to ~/.bashrc. If command -v nvm prints nothing, open a new shell or source the file again.
💡 Tip Do not install Node from apt or dnf on a machine that runs applications. Distribution packages lag the release line by months, and moving them forward means touching system files. NVM keeps Node.js in your home directory where it belongs.
Install Node.js and npm Using NVM
Even-numbered Node.js lines become LTS each October and stay supported for thirty months. The --lts flag always resolves to the current Active LTS, so you never have to track the number:
nvm install --lts
nvm use --lts
nvm alias default lts/*
The third command matters. Without a default alias, a new shell session starts with no Node at all, and PM2 will not find the binary.
npm ships with Node, so there is nothing else to install. If you prefer yarn:
npm install -g yarn
yarn --version
Verify the Installation
Three commands confirm the Node.js installation, and the last shows where the binary actually lives:
node -v
npm -v
which node
nvm ls
The path points inside ~/.nvm/versions/node/, the sign that NVM owns this Node.js install rather than the system. nvm ls prints every version on the box and marks the default. If node -v fails after a reboot, the default alias is missing.
✅ Expected result Both node -v and npm -v print version numbers, and which node resolves under your home directory.
List what npm has installed globally at any point, which is the fastest way to see which tool set is on the server:
npm ls -g --depth=0A fresh Node.js installation shows only npm and corepack. Each global package you add later, such as PM2 or yarn, appears in that window of output, and every module it pulls in lives under the same prefix.
Create a Sample Node.js Application
Create something minimal to prove the chain works end to end, before Nginx and SSL complicate the picture. Two steps: a package.json, then a single script.
mkdir ~/nodeapp && cd ~/nodeapp
npm init -y
npm init -y writes a package.json with sensible values, the configuration file every Node.js tool reads. Now create the entry file:
const http = require('http');
const port = process.env.PORT || 3000;
http.createServer((req, res) => {
  res.writeHead(200, {'Content-Type': 'text/plain'});
  res.end('nodeapp is running\n');
}).listen(port);
Then execute the script and check the response from a second terminal window:
node app.js
curl http://localhost:3000
✅ Expected result curl returns the string, which means your Node.js app is listening on port 3000.
Install and Configure PM2 Process Manager
Running the file by hand dies when you close the shell. PM2 is the process manager that fixes that: it is the one tool keeping the app running, restarting it after a crash, rotating logs and running the cluster. The same setup keeps a Discord bot online 24/7.
npm install -g pm2
cd ~/nodeapp
pm2 start app.js --name nodeapp -i max
The -i max flag is the interesting one. It launches PM2 in cluster mode, forking one worker per CPU core, so a four-core box runs four copies of your Node.js app behind a single port. No code change is required: the Node.js cluster module does the work underneath, and PM2 drives it. In cluster mode PM2 also reloads workers one at a time, so a deploy causes no downtime. Cluster mode is where bare metal pays for itself: on a shared platform those cores are not really yours.
pm2 status
pm2 logs nodeapp
pm2 monit
💡 Tip Keep configuration in environment variables rather than in code. PM2 reads a .env file or an ecosystem config, and process.env.PORT in the sample above is already set up for it.
Configure Nginx as a Reverse Proxy
Your app listens on 3000. Nginx listens on 80 and 443 and passes requests through, which is what lets you add SSL, compression and rate limiting without touching application code.
sudo apt install -y nginx
nano /etc/nginx/sites-available/nodeapp
Write the server block:
server {
  listen 80;
  server_name example.com;
  location / {
    proxy_pass http://localhost:3000;
    proxy_http_version 1.1;
    proxy_set_header Upgrade $http_upgrade;
    proxy_set_header Connection 'upgrade';
    proxy_set_header Host $host;
    proxy_cache_bypass $http_upgrade;
  }
}
The two websocket headers are what make a live connection work through the proxy. Everything else in this server block is standard Nginx configuration, covered step by step in our NGINX reverse proxy guide, so you can copy it for a second Node.js app on another port. Link the site into place and reload:
sudo ln -s /etc/nginx/sites-available/nodeapp /etc/nginx/sites-enabled/
sudo nginx -t && sudo systemctl reload nginx
⚠️ Warning Remove the stock site under sites-available, or its welcome page keeps answering on your domain instead of your app.
Secure the Server with SSL (Let's Encrypt)
Certbot reads your Nginx config, requests a certificate for the domain it finds, and rewrites the config to redirect port 80 to 443:
sudo apt install -y certbot python3-certbot-nginx
sudo certbot --nginx -d example.com -d www.example.com
certbot renew --dry-run
The dry run proves the renewal timer works. Certificates last ninety days, so a renewal that silently fails takes the site down three months after you stop paying attention. Nothing in the Node.js configuration changes: Nginx terminates TLS and the app keeps serving plain HTTP on localhost.
Optimize Firewall and Security Settings
Close everything except SSH and HTTPS. Port 3000 must not be reachable from outside:
ufw allow OpenSSH
ufw allow 'Nginx Full'
sudo ufw enable && ufw status
Disable password login. Set PasswordAuthentication no in /etc/ssh/sshd_config and use keys. That one setting removes the whole class of password-guessing attacks against the server.
Disable root SSH. Set PermitRootLogin no in the same configuration file, then reload sshd.
Bind the app to localhost. Change .listen(port) to .listen(port, '127.0.0.1') in the code, so the process cannot be reached except through Nginx.
Keep npm dependencies current. Run npm audit before each build and treat a high-severity finding as a blocker. Follow the same instruction set every time rather than improvising per release.
Our complete guide to running a website covers the wider hardening picture.
Enable Automatic Startup on Reboot
PM2 does not survive a reboot on its own. Generate the systemd unit and save the current process list. This is the final step, and skipping it is the most common way a Node.js server comes back empty:
pm2 startup systemd
pm2 save
The first command prints a sudo env ... line. Copy it, execute it exactly as printed, then run pm2 save to store what is running. That is what survives the reboot. Reboot and check:
reboot
pm2 status
✅ Expected result After the server comes back, pm2 status lists nodeapp online with no manual step.
Common Troubleshooting Tips
| Symptom | Cause | Fix |
|---|---|---|
| nvm: command not found | ~/.bashrc not sourced | source ~/.bashrc, or open a new session |
| node: command not found after reboot | No default alias set | nvm alias default lts/ |
| 502 Bad Gateway from Nginx | App not running, or wrong port | pm2 status to see if the cluster is up, then check proxypass |
| EADDRINUSE on start | Port 3000 already taken | ss -tlnp, then stop the old process |
| PM2 gone after reboot | pm2 save never run | Re-run pm2 startup systemd, then pm2 save |
| Certbot cannot verify the domain | DNS not pointing at the server, or port 80 closed | Check the A record, then ufw status |
| Site loads but websockets fail | Websocket headers missing | Add both to the proxy block |
Conclusion
You now have a Node.js app running under PM2 in cluster mode, behind Nginx on HTTPS, on a firewalled machine that brings everything back after a reboot. The remaining work is deployment: a git repository, a build step, and a pull-and-reload script rather than editing files on the server in place. Keep the same instructions in your notes, because the next Node.js app on the same server follows them unchanged.
FAQ
How do I install Node.js on my server?
Connect over SSH, install NVM with the curl script, then run nvm install --lts. Verify with node -v and npm -v. Set nvm alias default lts/* so a new shell finds Node.js, then put PM2 in front so the app survives a disconnect.
How do I install Node.js in my terminal?
Use NVM rather than the OS package manager. NVM installs into your home directory, needs no sudo, and lets you switch between versions per project with nvm use. Apt, yum and dnf all work, but they lag the release line and tie Node.js to system packages.
How do I install Node.js on Windows 11?
Download the Windows installer from nodejs.org, or use nvm-windows for the same version switching. For anything you intend to deploy to Linux, the Windows Subsystem for Linux is the better development environment, because it matches the target server and the same instructions apply unchanged. The Windows installer is fine for a desktop, less so for a development environment you will mirror onto a server.
How do I install Node.js and npm?
npm ships with Node.js, so the installation is a single step. After nvm install --lts, run node -v and npm -v to confirm both. Use npm install -g for a global package such as PM2 or yarn, and plain npm install inside a project to pull its own module tree from package.json.
Deploy your Node.js app on bare metal Kimsufi bare metal from $11.10/month. Root access, unmetered bandwidth, built-in DDoS protection.