


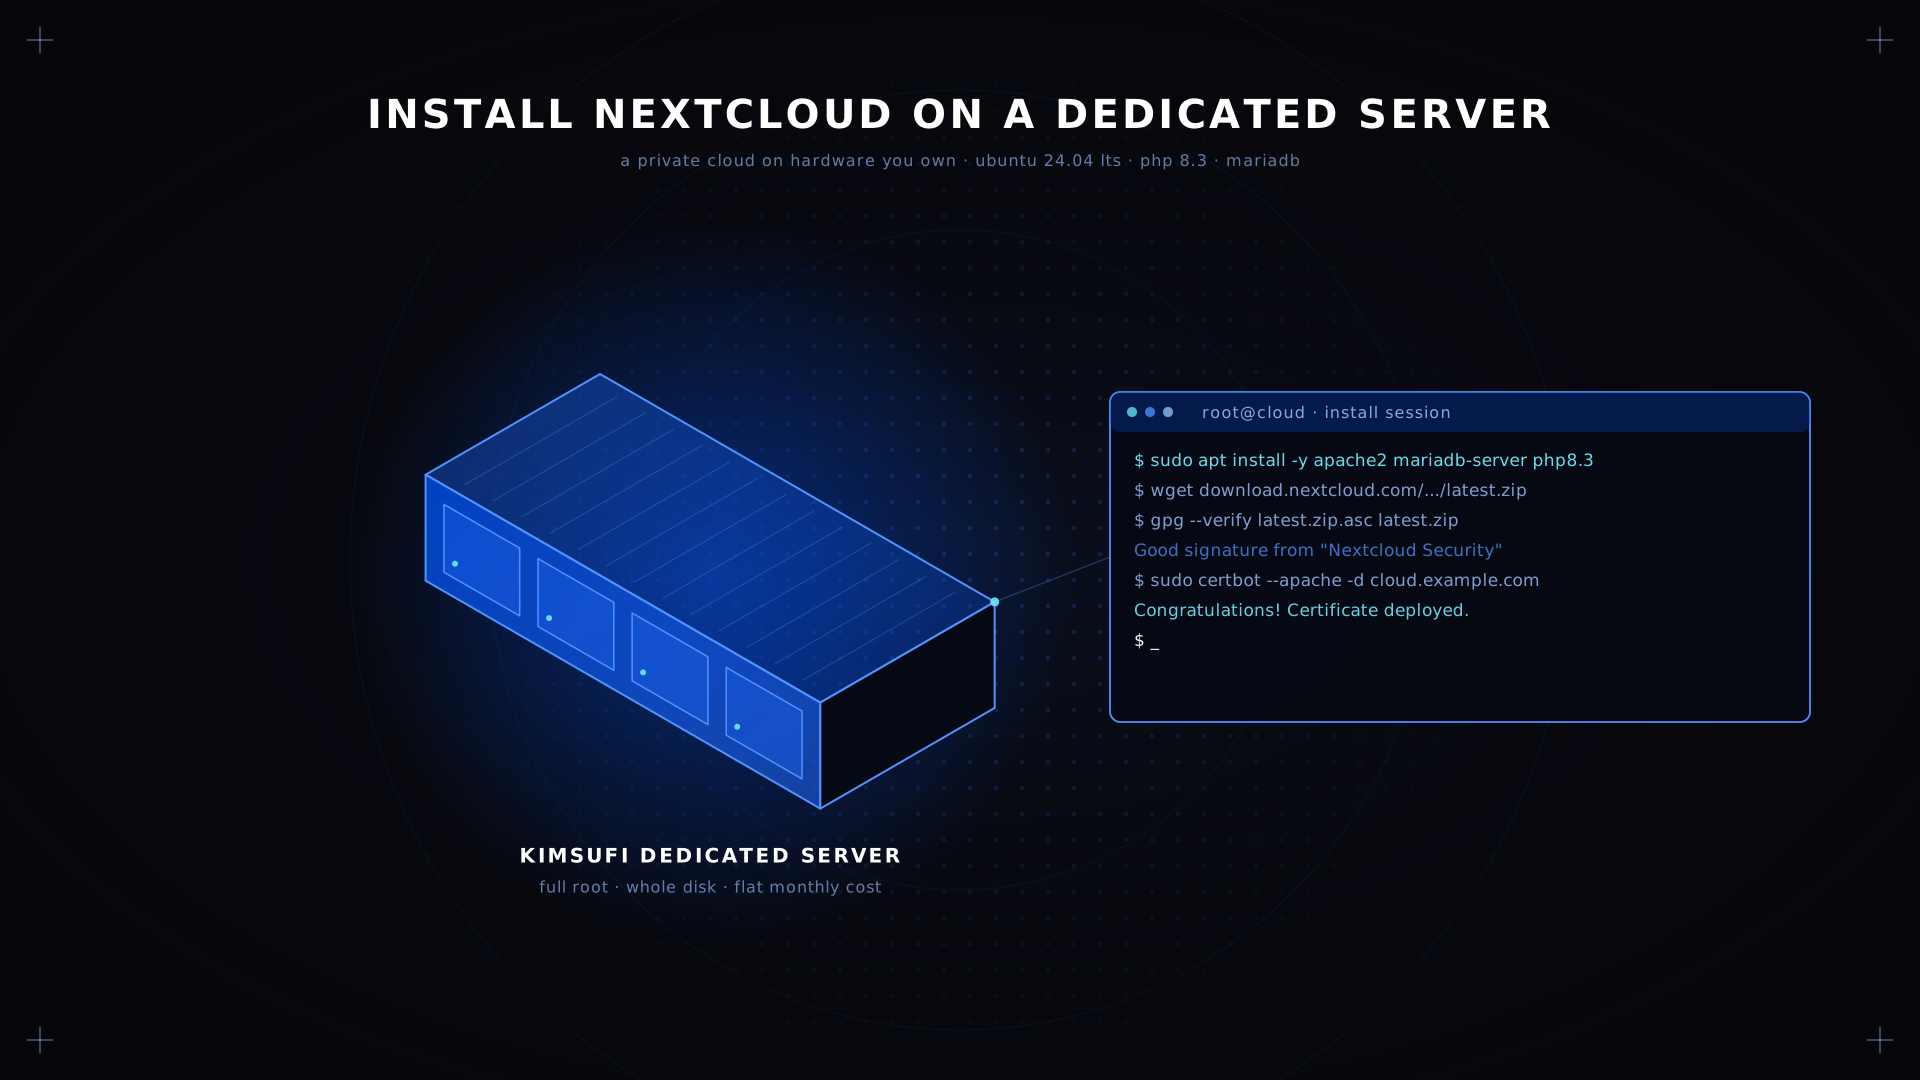
Nextcloud turns bare hardware into a private cloud you control end to end: file sync, calendars, contacts and document editing, with no per-seat licence and no third party holding the keys. Running it on a dedicated server gives those services the whole disk, the whole processor and the whole network card. This guide covers the manual deployment on Ubuntu 24.04 LTS, on hardware from $11.10/month.
Key Takeaways
- You will take a clean distribution to a running Nextcloud server, with HTTPS and a hardened configuration.
- Tools required: SSH access, a domain pointing at your public IP, and the root credentials and IP address Kimsufi sends on provisioning.
- Estimated time: 60 to 90 minutes, most of it spent waiting on package downloads.
- Skill level: intermediate. Comfort with the Linux command line is assumed.
- The finished Nextcloud host runs MariaDB, PHP 8.3, a Let's Encrypt certificate and brute-force protection.
Why Choose a Dedicated Server for Nextcloud?
The suite is I/O-bound before it is anything else. Thumbnail generation, full-text search and the sync client's delta checks all hammer the same disk, and on shared infrastructure that disk is shared too.
No noisy neighbours. Bare metal assigns the whole unit to a single tenant. Storage throughput does not collapse because another customer started a backup job, which is the standard failure mode on a virtual machine.
Full root access. You choose the distribution, the PHP version, the cache layer and the filesystem, and you can integrate whatever monitoring software you already run. No provider-imposed ceiling on transfer size or execution time.
Predictable cost. Cloud subscriptions bill per terabyte per month. Bare metal bills a flat rate whatever you store, so the arithmetic is simple: a self-hosted private cloud gets cheaper the more data you keep. Our open-source cloud storage comparison sets Nextcloud against Seafile and ownCloud, with the point where hardware beats a 2 TB plan.
Data sovereignty. You know which rack holds your data and which jurisdiction it sits in, because you picked the data centre.
Prerequisites: What You Need Before Starting
- A Kimsufi dedicated server with at least 8 GB RAM. Sizing guidance is in the table below.
- A registered domain with an A record pointing at your IP address. Let's Encrypt will not issue a certificate for a bare IP.
- Root access over SSH, plus the IP address and credentials emailed after provisioning. Point the A record at that IP before you start, because a bare IP will not pass validation.
- Ubuntu 24.04 LTS, the stable base most guides assume. Debian 12 is the other safe distribution here, identical apart from two package names.
- Roughly 5 GB free for the source, separate from whatever you intend to store.
- An overview of the sequence: lock down the operating system, lay down the stack, verify the archive, wire up Apache and the database, then run the installer.
💡 Tip There is also a snap and an all-in-one Docker image. The snap route promises easy Nextcloud setup in one instruction and delivers it, but the snap sandbox restricts where data can live and which PHP setting you can change, and the same limit applies to the appliance images sold on single-board hardware. On hardware you own outright, a manual build gives you the control that makes the hardware worth paying for.
Step 1: Provision Your Kimsufi Dedicated Server
Order the box and choose the distribution in the same flow. Provisioning is automated and usually completes in minutes. Match the hardware to the number of people who will use it:
| Users | Suggested range | Profile |
|---|---|---|
| 1 to 5 | Kimsufi KS-2 dedicated server | Personal cloud, photo backup, light file sharing |
| 5 to 25 | Kimsufi KS-3 dedicated server | Small team, Nextcloud Office, calendar sync |
| 25 to 100 | Kimsufi KS-4 dedicated server | Whole organization, heavy concurrent use |
Attach your SSH public key, pick the distribution and confirm. When the welcome email arrives, connect and check the interface came up on the expected IP:
ssh root@YOUR_SERVER_IP
ip -4 addr show
✅ Expected result A root shell on a clean Ubuntu system, showing the public IP you will point the domain at, and the route the box uses to reach the internet.
Step 2: Secure the Server (Firewall, SSH, Fail2Ban)
Harden the host before anything listens on port 443. Every instruction below runs over SSH as root. Update, then pull down the security tooling:
sudo apt update && sudo apt upgrade -y
sudo apt install -y ufw fail2ban
Open only what Nextcloud needs, and add the SSH rule first:
sudo ufw allow OpenSSH
sudo ufw allow 80,443/tcp
sudo ufw enable
Disable password login and root SSH in /etc/ssh/sshd_config (PermitRootLogin no, PasswordAuthentication no), then restart the service. Start the jail that watches failed logins and bans the offending IP:
sudo systemctl restart ssh
sudo systemctl enable --now fail2ban
Our dedicated server firewall guide covers rule design, logging and per-port policy in depth.
⚠️ Warning Open a second terminal window and confirm you can still log in before closing the first session. A firewall enabled without an SSH rule locks you out of the box.
Step 3: Install Required Packages (Apache/Nginx, PHP, MariaDB)
The stack is a web server, PHP 8.3 and a relational database. Pull all of it with one command:
sudo apt install -y apache2 mariadb-server libapache2-mod-php8.3 \
  php8.3 php8.3-{gd,mysql,curl,mbstring,intl,gmp,bcmath,xml,imagick,zip} \
  php8.3-apcu redis-server certbot python3-certbot-apache unzip wget
Prefer Nginx? Swap apache2 and libapache2-mod-php8.3 for nginx and php8.3-fpm. On any Debian-based distribution the rest of the package list is identical; on an RPM distribution the names differ but the set does not.
Secure the database engine, then confirm both services start on boot:
sudo mysql_secure_installation
sudo systemctl enable --now apache2 mariadb
💡 Tip APCu and Redis are in that package list deliberately. A memory cache silences the configuration warning, and file locking through Redis stops two sync clients corrupting the same document.
Step 4: Download and Verify the Nextcloud Package
Never deploy an archive you have not checked. Fetch the stable release, its signature and the project's signing key from a keyserver:
cd /tmp
wget https://download.nextcloud.com/server/releases/latest.zip
wget https://download.nextcloud.com/server/releases/latest.zip.asc
gpg --keyserver keys.openpgp.org --recv-keys D75899B9A724937A
gpg --verify latest.zip.asc latest.zip
If that keyserver is unreachable, use a second keyserver or import the key manually. The administration manual lists the alternative sources, and the fingerprint is published there too, so you can check it manually against what gpg reports. A good signature is the only proof the package left the project untampered.
Unpack the source and hand ownership to the web user, which cannot write to the tree otherwise:
sudo unzip latest.zip -d /var/www/
sudo chown -R www-data:www-data /var/www/nextcloud
Step 5: Configure the Web Server and PHP Settings
Create a virtual host in /etc/apache2/sites-available/nc.conf so Apache serves it at your domain:
<VirtualHost *:80>
  DocumentRoot /var/www/nextcloud
  ServerName cloud.example.com
  <Directory /var/www/nextcloud>
    Require all granted
    AllowOverride All
    Options FollowSymlinks MultiViews
  </Directory>
</VirtualHost>
Enable the site and the modules it depends on:
sudo a2ensite nc.conf
sudo a2enmod rewrite headers env dir mime
sudo systemctl reload apache2
Then raise the PHP limits in /etc/php/8.3/apache2/php.ini, because the defaults reject any upload over 2 MB:
memory_limit = 1G
upload_max_filesize = 16G
post_max_size = 16G
max_execution_time = 3600
💡 Tip Set opcache.memory_consumption=128 in that same ini. That one setting is the cheapest performance change available anywhere.
Step 6: Set Up the Database and Create a Nextcloud User
The application needs its own schema and its own account. Open the database shell with sudo mysql -u root -p, then grant nothing wider than required:
CREATE DATABASE nc_db CHARACTER SET utf8mb4 COLLATE utf8mb4_general_ci;
CREATE USER 'nc_admin'@'localhost' IDENTIFIED BY 'a-long-random-password';
GRANT ALL PRIVILEGES ON nc_db.* TO 'nc_admin'@'localhost';
FLUSH PRIVILEGES;
EXIT;
✅ Expected result SHOW DATABASES; lists the new schema, and the account connects without root rights.
Step 7: Run the Web Installer and Complete the Setup
Point a browser at http://cloud.example.com. The web installer asks for four things: an administrator name, a password, a data directory and the database credentials from the previous section.
Keep the data directory outside the web root so no file can ever be served directly:
sudo mkdir -p /var/nc-data && sudo chown -R www-data:www-data /var/nc-dataSubmit the form and the installer writes config.php, builds the schema and logs you in. The occ tool does the same job unattended, which is the option to take when scripting a rebuild or a development instance.
✅ Expected result The dashboard loads and the Files app is ready to use.
Optional: Enable HTTPS with Let's Encrypt
Serving a cloud over plain HTTP exposes every session token on the wire. Certbot, pulled down earlier with the rest of the stack, issues and renews a free certificate:
sudo certbot --apache -d cloud.example.comCertbot rewrites that vhost, redirects port 80 to 443 and drops a renewal timer under /etc/letsencrypt. Confirm the automation with certbot renew --dry-run before you forget it exists. Add the domain to trusted_domains in config.php if the installer did not, or the request is refused. Back up /etc/letsencrypt with everything else.
Optional: Configure a Reverse Proxy for Better Performance
A reverse proxy terminates TLS, caches static assets and lets one box run several services behind one public IP. Nginx is the usual choice, and the same reverse proxy is where WebDAV traffic terminates cleanly, since sync clients and mounted drives share one endpoint.
Declare the proxy, or every client appears to come from 127.0.0.1 and brute-force protection bans your own IP:
'trusted_proxies' => ['127.0.0.1'],
'overwriteprotocol' => 'https',
Post-Installation: Tuning, Backup, and Monitoring
Background jobs. Switch from AJAX to system cron in the admin panel, then attach the job to the web user:
sudo crontab -u www-data -e
*/5 * * * * php -f /var/www/nextcloud/cron.php
Backup. Three things must be captured together: the data directory, a database dump and config.php. A snapshot of one of them will not restore. Test a restore once a quarter to ensure the copies are usable before a production incident forces the issue. The rsync and Borg scripts behind automated server backups handle all three on a nightly cron.
Monitoring. The Serverinfo app gives you one overview of CPU, memory and free space, exposed as JSON that any monitoring tool can poll. The admin panel keeps a matching view per user and per device. Monitor disk space above all, because performance degrades badly when the data volume fills. Whatever you already use to monitor Linux will manage this one too.
Maintenance. Run occ maintenance:repair after each upgrade and keep one window a month for operating system patches.
Common Issues and How to Troubleshoot Them
| Symptom | Likely cause | Fix |
|---|---|---|
| "Access through untrusted domain" | Missing from the configuration | Add it to trusteddomains |
| Upload stops at 2 MB | PHP defaults still active | Raise uploadmaxfilesize and postmaxsize, reload Apache |
| "Internal Server Error" after setup | Missing PHP module or wrong ownership | Read /var/log/apache2/error.log, re-run the chown |
| Sync client stuck on "Connecting" | Port 443 closed or certificate invalid | Check ufw status and certbot certificates as root |
| Slow view, high load under concurrent access | No memory cache configured | Enable APCu, set memcache.local |
| Fail2Ban banning real users | Reverse proxy not declared | Set trustedproxies so the client IP, not the proxy IP, is logged |
Scaling Nextcloud on a Dedicated Server: Adding RAM, Storage, and CPU
Scaling a self-hosted platform means knowing which resource runs out first.
RAM first. PHP-FPM workers, the APCu cache and the database buffer pool all draw on memory. Below 8 GB, concurrent uploads queue.
Then storage. Photo and video libraries grow faster than any other data type. Past 70% full, move to a storage-heavy machine such as the Kimsufi KS-C dedicated server rather than fighting for space.
Then CPU. Thumbnail generation, encryption and full-text indexing are processor work, and they are the specific jobs that make a production instance feel slow. Something like the Kimsufi KS-7 dedicated server absorbs that load without slowing interactive use.
External storage. You can mount an S3 bucket, an SMB share or a second box, and integrate it as if it were local. That is how you extend capacity without migrating the instance, and you can still share file links that point at data living elsewhere, or share file access with a group that has no account at all.
Security Best Practices: Two-Factor Auth, Brute-Force Protection, and Updates
Two-factor authentication. Enable the TOTP Nextcloud app and enforce it per group across the organization. Each user registers a device, and a stolen password alone stops being enough. The session list shows every device currently signed in, and revoking one takes one click from the same view.
Brute-force protection. Enabled by default. It throttles repeated failures per IP, and Fail2Ban adds a firewall-level ban on the same IP on top of the application-level delay.
Server-side encryption. Useful for external storage you do not control, where it protects data at rest on someone else's disk. It costs performance and complicates recovery, so switch this option on deliberately.
Updates. Apply every patch release through the package manager or the built-in updater, and never skip a major version: the migration path expects each step in order. Follow the upgrade instruction published with each release rather than improvising.
Security scan. Run the official scanner against the domain. It grades the TLS configuration, the response headers and the version you expose, then tells you which settings still need to protect the login route. The hardening chapter of the manual explains each finding.
Conclusion
You now have a Nextcloud server on hardware you control: a verified source package, a hardened operating system, a MariaDB back end, tuned PHP settings and a valid certificate. Everything above that line is where the interesting work starts, whether that means connecting a desktop client, adding a mobile client for photo backup, mounting external storage or picking a Nextcloud app from the store to extend what ships by default. Keep the cron job running and the backups verified, and the platform looks after itself.
Deploy your Nextcloud server today Get started with Kimsufi dedicated servers from $11.10/month. Root access, unlimited traffic, built-in DDoS protection.
FAQ
Can I host my own Nextcloud server?
Yes, and that is the intended deployment model. This is open source software you can deploy on any hardware you control, from a single-board device to a rack unit. Bare metal is the practical middle ground: always on, on a business-grade network, with no virtual machine layer between the application and the disk, and with enough CPU and disk to support a whole team. You supply the hardware, the DNS record and the upkeep, and you maintain Nextcloud on your own schedule. No feature is reserved for a provider's managed offer.
Is Nextcloud free if self-hosted?
The package is free and stays free, released under AGPLv3 with no user cap and no feature gate. Your costs are the box and the domain. A paid Enterprise subscription exists, and it buys vendor support and long-term updates for large deployments, but nothing here requires it. For most self-hosted instances the monthly hardware bill is the entire cost, which is the whole argument for owning the platform rather than renting capacity per terabyte.
How much RAM does a Nextcloud server need?
Budget 128 MB per PHP process at minimum, 512 MB as the recommended figure. In practice, 4 GB runs a personal instance, 8 GB is a comfortable floor for a small team, and 16 GB or more suits an organization with dozens of concurrent users, Nextcloud Office and full-text search in use. An organization that size should extend the RAM before adding disk. Redis and APCu both live in memory, so allow for them on top. RAM is the first thing to review when the interface feels slow under load.
Can Nextcloud be used as a NAS?
Functionally yes, with a caveat about where the disks sit. You get file browsing, sharing, versioning and WebDAV access, which covers what most people want from a NAS, and LDAP integration if the organization already has a directory. It is not a storage layer of its own: it sits on top of the filesystem you give it. TrueNAS is built around ZFS first, which is why running Nextcloud on TrueNAS is such a common pattern: TrueNAS manages the ZFS pool and its snapshots underneath, and the integration stays clean. On bare metal the same split applies, with the provider's RAID array playing the part TrueNAS plays at home.