




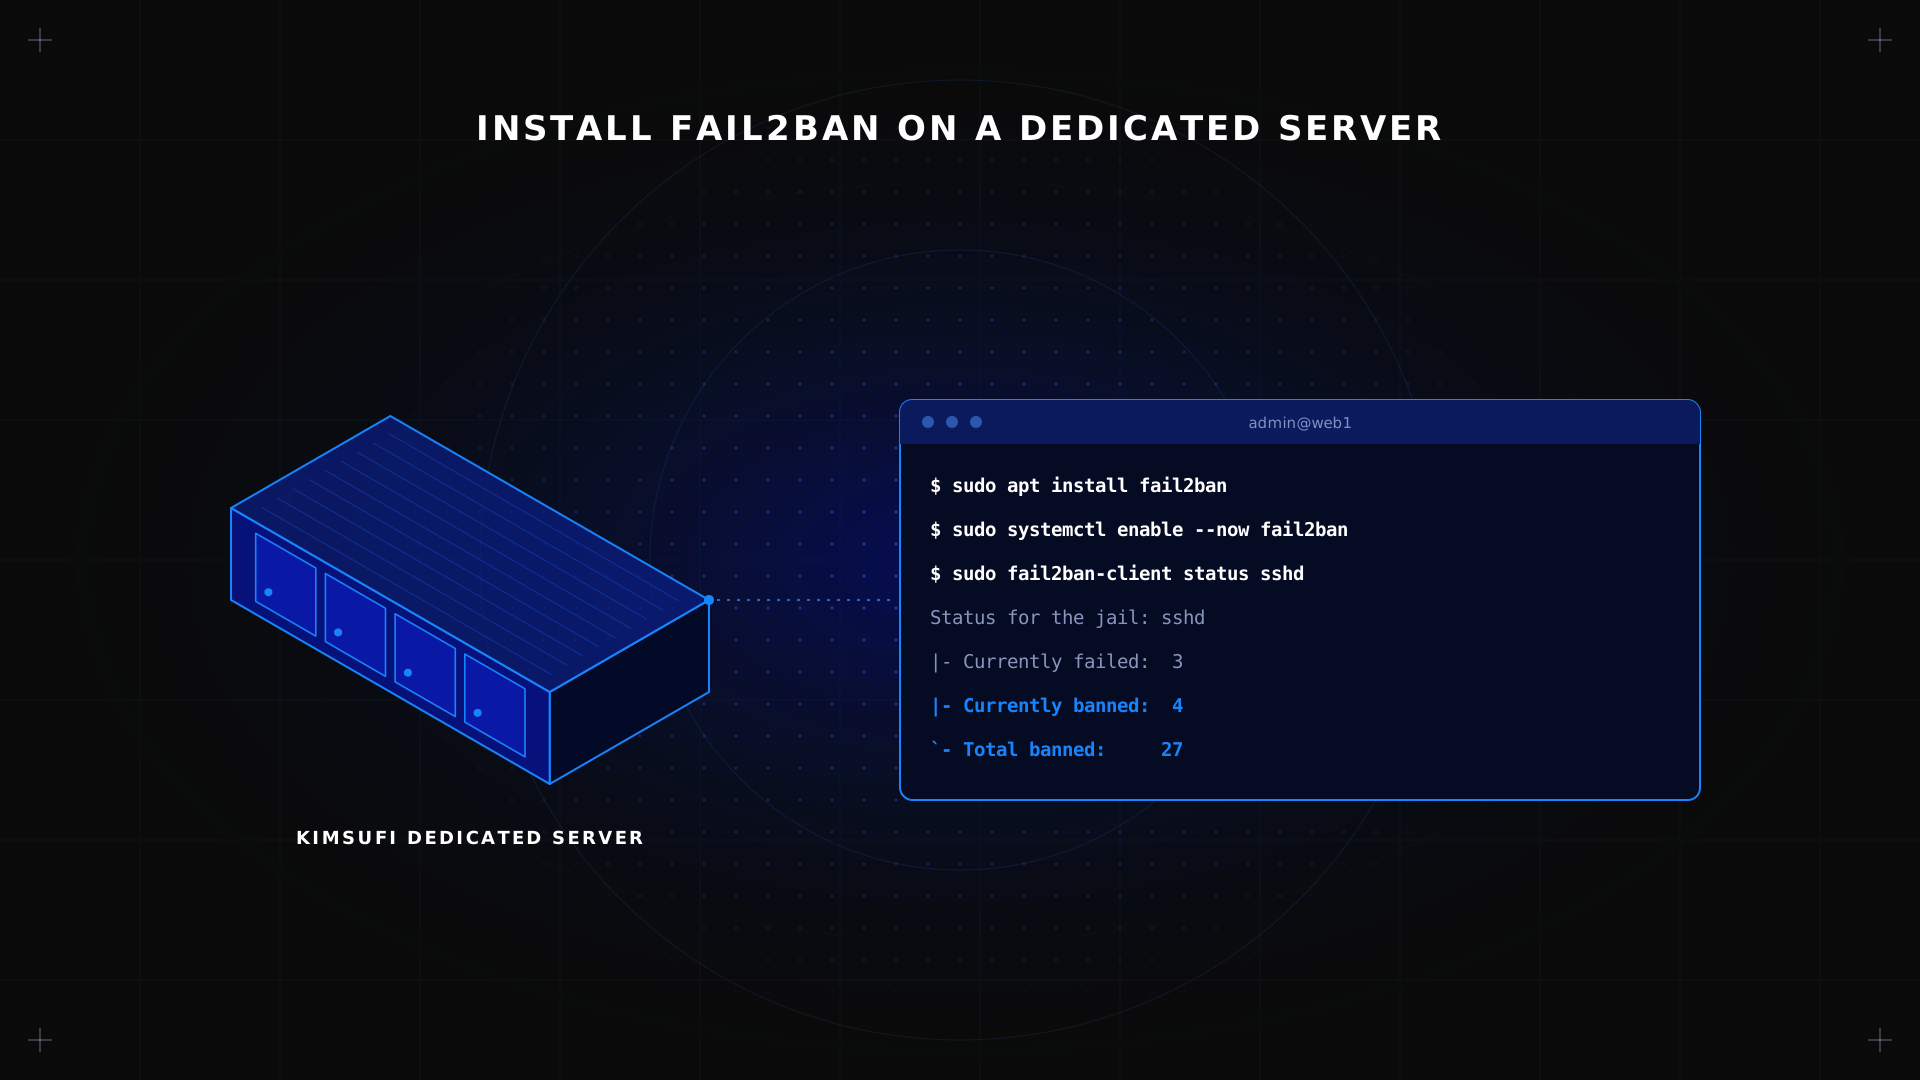
Fail2Ban is a popular intrusion prevention software that helps protect Linux servers from brute force attacks. It reads your log files, finds IP addresses that show malicious behavior, such as repeated failed login attempts, and writes a rule that blocks those hosts for a set time. On a dedicated machine with a public IP, it is one of the first tools to set up: bots start scanning port 22 within minutes of a fresh install. This guide shows how to configure Fail2Ban on Debian, Ubuntu and AlmaLinux, protect SSH and other services, tune ban rules and handle daily management. New to bare metal hosting? Our hosting guide for beginners covers the basics. Plans begin at $11.10/month.
Key Takeaways
- Install the package from your distribution, then create a local configuration in
jail.local: never editjail.conf, which updates overwrite.
- The SSH jail comes first. Add jails for mail and web services only if they run on the machine.
- Put your own IP in
ignoreipbefore bans start, or you can lock your own user account out.
- Tools required: SSH access with an admin account, and about 15 minutes.
Why Use Fail2Ban on a Dedicated Server?
A dedicated server on a public network receives thousands of unauthorized access attempts a day, from bots that scan every host and DNS name they find. Fail2Ban turns them into bans with no manual action. The benefits:
- Intrusion prevention: it watches authentication logs and blocks a client after too many failures.
- Low resources: the Python daemon needs a few dozen megabytes of RAM, with no impact on performance or uptime, even under heavy load.
- Works with your existing rules: it drives nftables, iptables or firewalld, so the kernel enforces each ban and uptime is unaffected.
- More than one service: ready-made rules exist for Postfix, Dovecot, Apache, Nginx, FTP and DNS servers, and hundreds of other app logins.
It is free, open-source software under the GPLv2 license: no license fee per host, no enterprise license to sign. A community of developers maintains its code on GitHub, where any developer can write and share a filter, and every major Linux platform packages it. On a bare metal server, as on a VPS or a cloud instance, nothing filters traffic at the application level, so server security is your job. Managed cloud solutions and their support teams often include it; on a self-managed bare metal or VPS plan, you set it up yourself.
Prerequisites: Access, Packages and Permissions
- A Linux machine with Debian 12, Ubuntu 24.04 or AlmaLinux 9, deployed from the control panel template.
- SSH access as root or as an admin user. Every command below runs as root: open a root shell once with
sudo -i.
- A firewall backend: nftables on Ubuntu-family systems, firewalld on AlmaLinux. Our firewall configuration guide covers the basic rules and private network access.
- Your own public IP, for the allow list, so you can check the status of bans without locking yourself out.
Before you change anything on a production machine, ensure you have a backup of /etc and your data. Our backup guide covers the tools, storage options and a sensible backup schedule.
1. Install the Fail2Ban Package
Debian-based systems. The package sits in the default repositories:
apt update
sudo apt install fail2ban
To install Fail2Ban on Debian 12, note one difference: it no longer ships rsyslog, so there is no /var/log/auth.log. Fail2Ban must read the systemd journal instead, a setting covered in the next step.
AlmaLinux, Rocky Linux and Fedora. On Red Hat Enterprise Linux and its rebuilds, the package comes from EPEL, Extra Packages for Enterprise Linux, a repository the Fedora community maintains for enterprise distributions:
dnf install epel-release
dnf install fail2ban fail2ban-firewalld
On older CentOS releases, the equivalent is sudo yum install epel-release; CentOS 7 itself is end of life, so plan a move to a supported platform. Fedora ships the package in its main repositories, and fail2ban-firewalld sends each ban through firewalld rich rules.
2. Basic Configuration: jail.local Overview
Before you configure Fail2Ban, know how it reads files: the main jail file first, then any override, which wins. Package updates replace the main file, so create a local file with only your changes:
nano /etc/fail2ban/jail.local
[DEFAULT]
bantime  = 1h
findtime = 10m
maxretry = 5
ignoreip = 127.0.0.1/8 ::1 203.0.113.10
backend  = systemd
banaction = nftables-multiport
Each setting in [DEFAULT] applies everywhere unless a specific jail overrides it. On the RHEL family, use banaction = firewallcmd-rich-rules instead. The commented jail.conf lists every option and feature, and the official documentation explains each action and filter, with a knowledge base of community tutorials around it.
3. Protect SSH: Default SSH Jail Settings
Add the sshd jail to the same configuration file:
[sshd]
enabled = true
port    = ssh
If the daemon listens on a custom port, put it here, for example port = 2222. The sshd definition matches failed passwords, invalid user names and early disconnects. On Debian, the package already turns this jail on through jail.d/defaults-debian.conf; your own values still apply on top.
For stronger protection, combine Fail2Ban with the key authentication and PasswordAuthentication no steps of our Linux server setup guide: Fail2Ban then mostly removes noise from the logs. To go further, keep port 22 reachable only through a VPN; our WireGuard and OpenVPN comparison helps you pick one.
4. Adding Additional Services (Postfix, Dovecot, Apache)
Every service with a log and a filter can get its own section. Turn on only those that run on the machine:
[postfix]
enabled = true
[dovecot]
enabled = true
[apache-auth]
enabled = true
[nginx-http-auth]
enabled = true
Email servers attract SMTP and IMAP password guessing over SSL, and web apps attract POST floods on admin pages, from a CMS to a database manager. The nginx-http-auth jail reads the NGINX error log, so it works as is on a standard NGINX installation. Each user account on an FTP or a domain control panel is a target too. To protect a custom program, write a regex definition in /etc/fail2ban/filter.d/ that matches its failed logins, then test it with fail2ban-regex against a real log first. A filter for a Docker container works the same way, as long as its log reaches the host. A script can also drive Fail2Ban through its API socket, for example to block an address flagged by another tool.
5. Fine-Tuning Banning Rules: bantime, maxretry, ignoreip
| Setting | What it does | Typical value |
|---|---|---|
| maxretry | Failures allowed before a ban | 3 to 5 |
| findtime | Window in which failures count | 10m |
| bantime | Ban duration | 1h, or -1 for permanent |
| ignoreip | Addresses never banned | localhost, your office, your VPN |
| bantime.increment | Longer bans for repeat offenders | true |
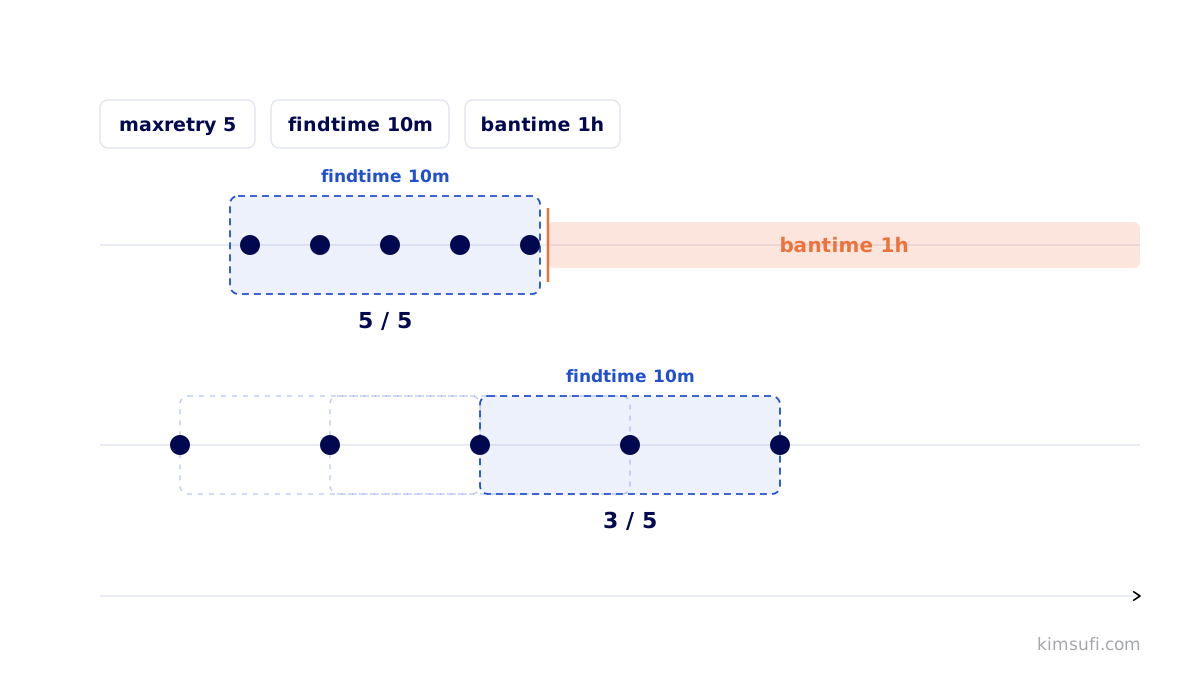
With bantime.increment = true, each new ban for the same address lasts longer, which stops bots that wait out short bans. That feature is the main action to take against slow scanners. Be careful with permanent bans on dynamic IPs: a shared mobile or cloud IP can belong to another user tomorrow, behind the same HTTPS site.
6. Enabling and Starting the Fail2Ban Service
Enable Fail2Ban so it will start on boot, and launch it now:
sudo systemctl enable --now fail2banAfter any change to the configuration, reload it with fail2ban-client reload, which keeps active bans in place.
7. Verifying the Installation: logs and status commands
Check the service and each section:
fail2ban-client status
fail2ban-client status sshd
To check Fail2Ban status in detail, the last command shows current failures, total bans and the list of banned hosts for that one service. Fail2Ban also writes its own log to /var/log/fail2ban.log, with one line per ban and unban, so you can view activity live with tail -f /var/log/fail2ban.log. To track bans over time, send this log to a server monitoring tool. To confirm the kernel side, list rules with nft list ruleset and look for the f2b- table.
If the service fails with an error, run a test with the -t flag: it names the faulty line.
8. Unbanning an IP and Ongoing Maintenance
To remove a ban, name the jail and the address:
fail2ban-client set sshd unbanip 198.51.100.7You can also block an IP by hand with banip. For ongoing maintenance:
- Review the log weekly for jails that ban too much or not at all, and keep each developer and user IP you trust in the allow list.
- Update Fail2Ban with your system packages, and read the notes of each release: a new release can change a filter.
- Check that each enabled jail still matches a running service after you remove one.
Our guide to dedicated server maintenance covers the wider routine of infrastructure management, and our list of common server errors helps when a jail fails to load.
Conclusion: Best Practices and Next Steps
Fail2Ban takes a few minutes to deploy and removes most automated attacks from your logs. Keep the configuration in jail.local, allow your own IP, start with the sshd section, and add others with each new deployment, step by step. Pair it with key-based login, a firewall that opens only the ports you use, and a regular backup.
FAQ
How do I install Fail2Ban?
On Ubuntu and similar systems, use sudo apt install fail2ban; on AlmaLinux, turn on EPEL and use dnf. Then create /etc/fail2ban/jail.local and enable the service.
How do I install Fail2Ban on Debian?
Use apt, then put backend = systemd in your local file, because version 12 logs to the systemd journal rather than to a file.
How do I clear a banned IP address in Fail2Ban?
Run fail2ban-client set <jail> unbanip <address>, for example with the sshd jail.
How good is Fail2Ban for protecting a dedicated server?
Very good against brute force on SSH, mail and web logins, for a single developer or an enterprise team implementing basic server hardening. It does not stop exploits or DDoS traffic, so treat it as one layer next to key-based login, a firewall and updates.
Can I use Fail2Ban with nftables instead of iptables?
It can: use banaction = nftables-multiport. Current Ubuntu releases and their upstream use nftables by default, and iptables there is a compatibility layer on top of it.
Secure your bare metal machine Kimsufi dedicated servers from $11.10/month. Root access, fixed monthly pricing, built-in DDoS protection.